

 No. 1819, Renmin West Road, Cao'e Street, Shangyu District, Shaoxing City, Zhejiang Province, China

 English
 中文简体
中文简体 русский
 Español
 عربى
عربى
The 2ZX-230 two-row small low-fuel consumption hand-held transplanter is a high-performance machine ...

 2026.08.03
 Industry News
If you have been searching for how to make a manual rice transplanter, you know factory machines are expensive and hand planting is exhausting. A simple two-row machine, however, is within reach of anyone comfortable with basic welding and mechanics. This guide covers the working principle, materials, assembly steps, and an honest comparison with commercial units, so you can decide whether DIY is right for your fields.
Manual rice planting means hours of bending over flooded fields, and that physical toll is why smallholders look for alternatives. A walk-behind transplanter turns the work into a steady backward walk while the machine plants as you go. For small plots, terraced land, or soft paddy fields where a large riding machine cannot operate, a homemade two-row unit covers ground much faster than by hand.
The cost side is attractive too. Most of the budget goes into steel tube, chain, sprockets, and bearings, much of it from a scrap yard or an old bicycle. If you already own a welder, your out-of-pocket cost drops further.
Keep expectations realistic. A shop-built machine will not match the planting consistency or working life of a commercial unit. Treat it as a labor-saving project for small areas, not a substitute for production machinery.
Every manual rice transplanter, homemade or factory-built, uses the same mechanical backbone: a four-bar linkage. A crank rotates, a coupler transfers that motion, and a rocker arm converts it into the up-and-down stroke of the planting fork. Each full turn of the crank completes one pickup-and-planting cycle.
Imagine a bicycle pedal: the crank turns steadily while the linkage transforms that circular movement into a precisely timed vertical stroke. That stroke drives two actions in sequence. First, the pickup claw separates one or several seedlings from the tray. Then the planting fork carries them downward and presses them into the mud at the set depth.
The distance between hills is set by the spacing of the pickup units and by the ratio between wheel rotation and crank rotation. Row width is simply the distance between the units across the frame. In practice, walking speed also changes hill spacing, which is why factory machines lock this relationship with a fixed wheel-to-crank ratio.
If you are new to these components, review the different types of seedling pickup mechanisms in transplanters before cutting steel. Understanding the trade-offs in claw design will save you from reworking the linkage later.
Most components come from a hardware store, a scrap yard, or a disused bicycle. Here is a working checklist for a two-row machine.
Structural materials:
Drive parts:
Working parts:
Fasteners and finishing:
Tools: welding machine, angle grinder, hand drill, bench vise, hacksaw, tape measure, and calipers. That set covers cutting, fitting, and measuring. Total material cost stays well below the price of a commercial machine, but the hours of adjusting are real.
Follow this build order: design first, then frame, then mechanisms. Take your time at each stage, because a small error early in the build multiplies by the end.
Decide on the number of rows first. A two-row machine is the most realistic home project; four rows roughly doubles the width, weight, and complexity. Use these reference values:
Draw a side view of the frame and the four-bar linkage, and mark the crank and coupler lengths. Their ratio sets the trajectory of the pickup claw. A practical starting point is a crank of 6 to 8 cm with a coupler of 15 to 20 cm; fine-tune it after the first run. Keep the center of gravity low so the machine stays stable on uneven paddy ground.
Cut the square tube to length and weld the main frame. Wear a welding helmet, gloves, and protective clothing while welding, and use eye protection when cutting steel. Check that all support points are level before the welds cool. After welding, measure both diagonals; if they differ by more than a few millimeters, the frame is twisted and the planting rows will be inconsistent.
Fit floating pontoons or skids underneath. These spread the machine's weight over soft mud and keep it from sinking. Keep them parallel and matched to your row spacing, because they also affect steering. See how to maintain stability when using a rice transplanter for more on keeping the machine balanced in wet fields.
Mount the crank, coupler, rocker arm, and planting fork according to your drawing. The linkage must rotate freely without binding. A joint that is too tight makes the machine exhausting to pull; one that is too loose lets the planting position wander.
Then set the timing between the pickup claw and the planting fork. The claw separates the seedling first and releases it at the exact moment the fork arrives; the fork then presses it into the mud. Before any adjustment, lock the crank so it cannot rotate, and keep your hands well away from the claw and fork during tests.
Mount the tray carrier in front of the operator position and tilt it at roughly 30 to 45 degrees so the seedling mats slide gently toward the pickup point. Add a baffle or a light spring-loaded pusher to keep the mat against the pickup claw. Without this, seedlings bunch up and cause missed hills.
A more advanced option is a small chain drive that advances the tray sideways after each pass. Add this only after the basic machine is working reliably.
A manual transplanter is pulled backward, and the ground wheels drive the crank shaft through a chain. This couples forward motion to the planting rhythm. Install an idler sprocket or a chain tensioner to act as a clutch, letting you stop the planting mechanism while turning or repositioning.
Adjust the handle height to the operator; a comfortable grip makes the machine worth building. For paddy work, use steel wheels with welded lugs. Rubber tires slip in soft mud, and each slip breaks the spacing rhythm.
Run the complete machine on flat ground first. Every linkage should move smoothly with no unusual noise. Then load the tray with old or spare seedlings and test. Check hill spacing, planting depth, and the missed-hill rate.
Common problems and fixes:
These are the same variables that affect factory machines; learning the factors that affect the planting effect of hand-operated transplanters will speed up your tuning. Finish with a small trial in a corner of the field first.
A homemade machine will wear out quickly if you neglect basic care. Wash off all mud after each session, especially from the chain, bearings, and planting units. Dried mud acts like grinding paste. Lubricate the chain and moving joints, and check bolts regularly. Store the machine under cover and wipe anti-rust oil over bare steel.
Most of the routine care for factory-built equipment applies to your machine as well; the maintenance measures for hand-operated transplanters are a useful reference.
Safety matters as much as upkeep. Keep your hands away from the pickup claw and planting fork unless the mechanism is locked. Walk the field once to find stones and debris before planting, and lift the machine between fields rather than dragging it.
Building your own transplanter saves money upfront and allows custom row and hill spacing. It is also a satisfying project that teaches real mechanical skills. But once the season starts, the trade-offs become visible.
| Consideration | DIY build | Commercial machine |
|---|---|---|
| Initial cost | Low; scrap steel and bicycle parts | Higher, but subsidy-eligible models narrow the gap |
| Planting precision | Depends on build quality and linkage setup | Consistent and factory-tested |
| Season-long efficiency | Comfortable for small plots; time lost to adjustments | Steady over larger areas |
| Lifespan | Limited by weld quality and materials | Long with normal maintenance |
| Support and spare parts | None; you are the parts department | Standard parts and after-sales service |
Most of the serious limits come down to precision and support. A DIY linkage can drift out of adjustment mid-season, and when a part fails you become the parts department. Commercial transplanters are designed around repeatable field performance, and a commercial two-row handheld rice transplanter shows how much difference engineered geometry makes in daily work.
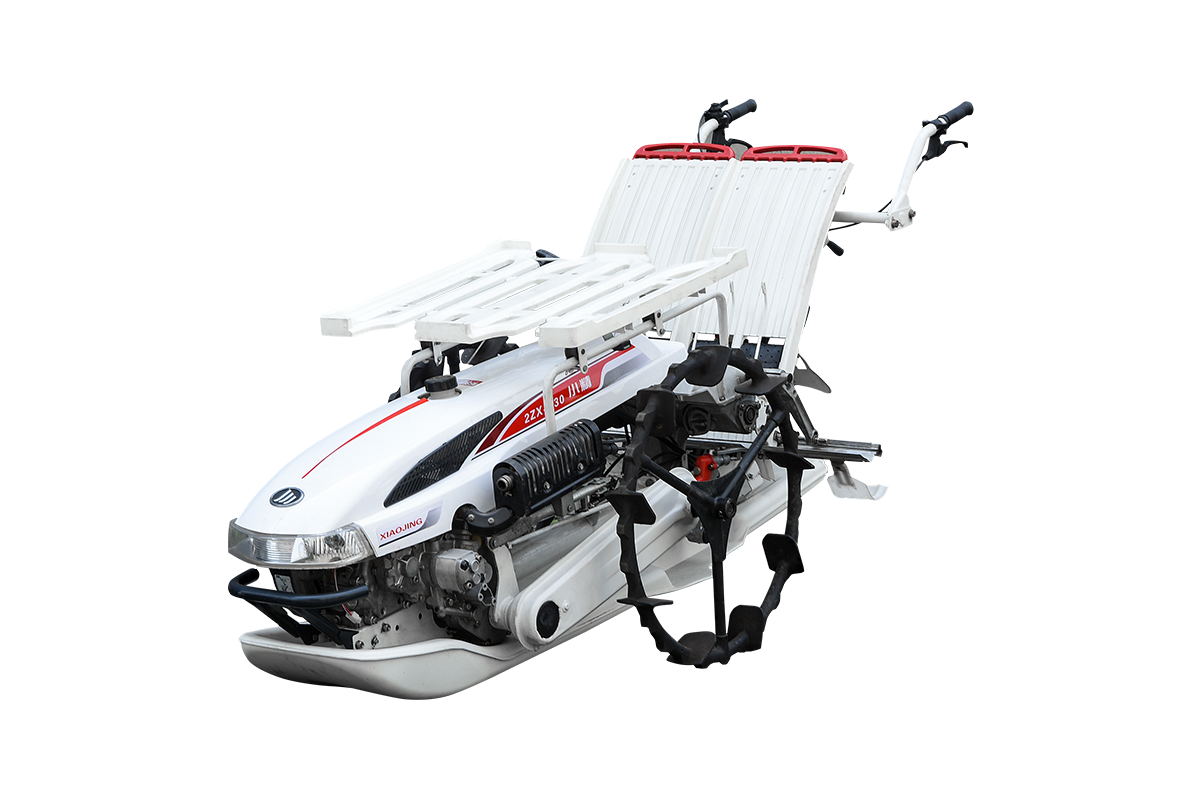 Custom 2ZX-230 Two-Row Small Hand-Held Rice Transplanter Suppliers, OEM/ODM FactZhejiang Xiaojing Agricultural Machnery Manufacturing Co., Ltd is China 2ZX-230 Two-Row Small Hand-Held Rice Transplanter Suppliers and O...View Product →
Scale matters too. If you are planting a small plot for household use, a carefully built DIY machine is a legitimate choice. For larger areas, a four-row walking rice transplanter for more efficient planting delivers reliable coverage without the cost of a riding machine. Industry discussion of how a small handheld rice transplanter changes traditional planting methods adds useful perspective on this decision.
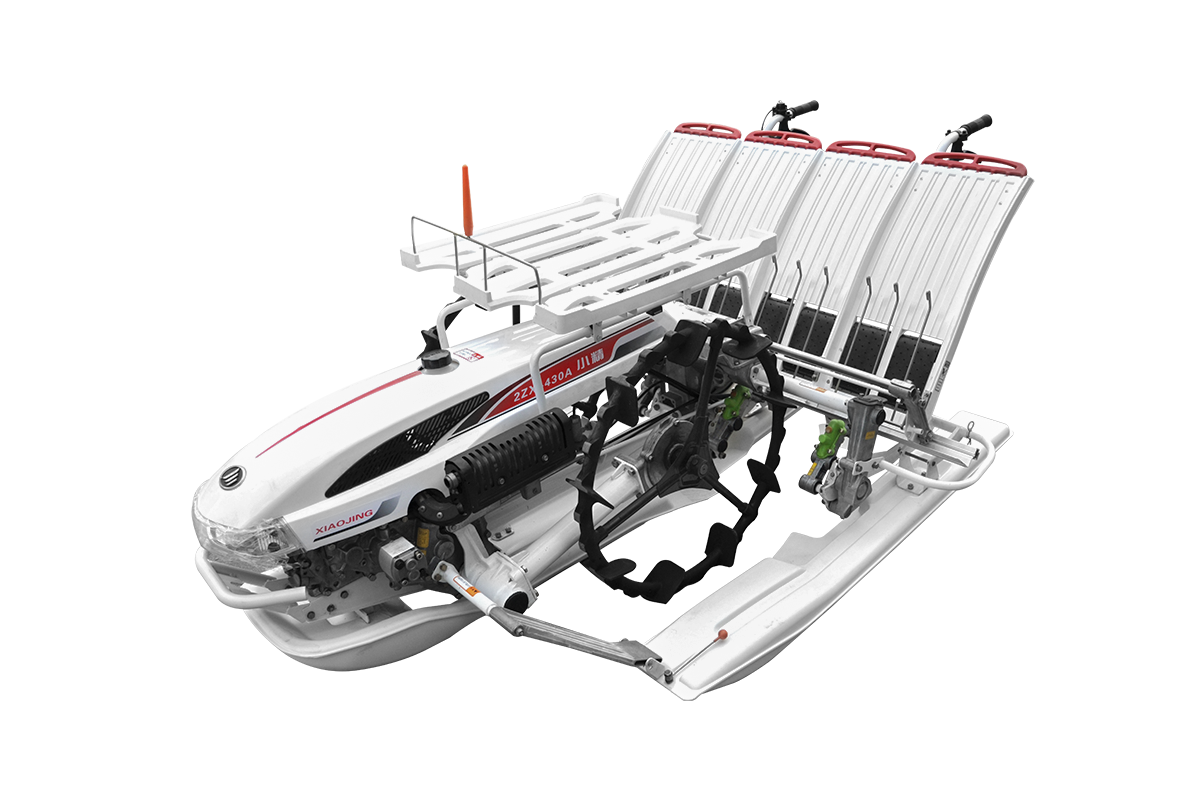 Custom 4 Row Rice Transplanter Manufacturers, SuppliersAs China 4 Row Rice Transplanter Manufacturers and Suppliers, Xiaojing Agricultural Machinery Manufacturing Co., Ltd. provide custom 4 Ro...View Product →
Making your own manual rice transplanter is a real engineering project. With steel, bicycle parts, and patient adjustment, you can build a two-row machine that cuts the physical strain of planting on a small field. The honest catch is precision and durability: your linkage, welds, and materials set the ceiling. If the project appeals to you and your area is small, go ahead and build it. If your goal is consistent, reliable planting over a meaningful acreage, a commercial machine is the safer investment.


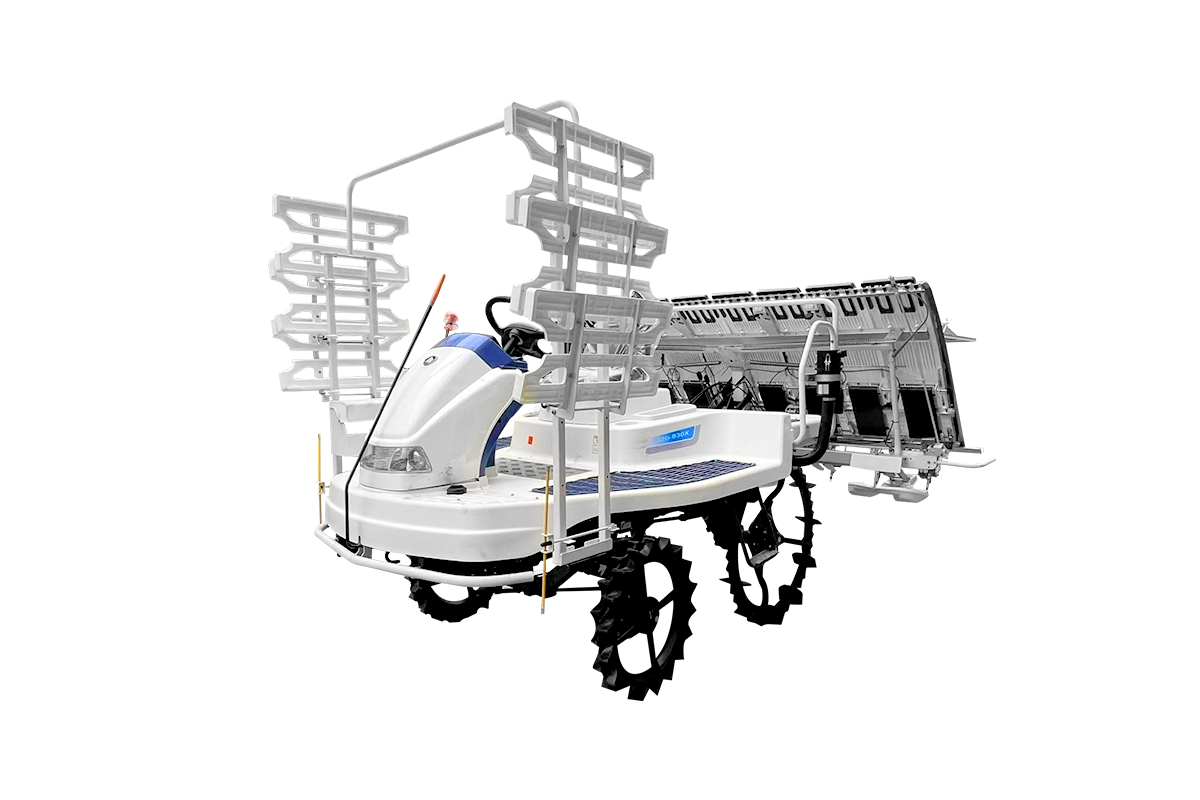
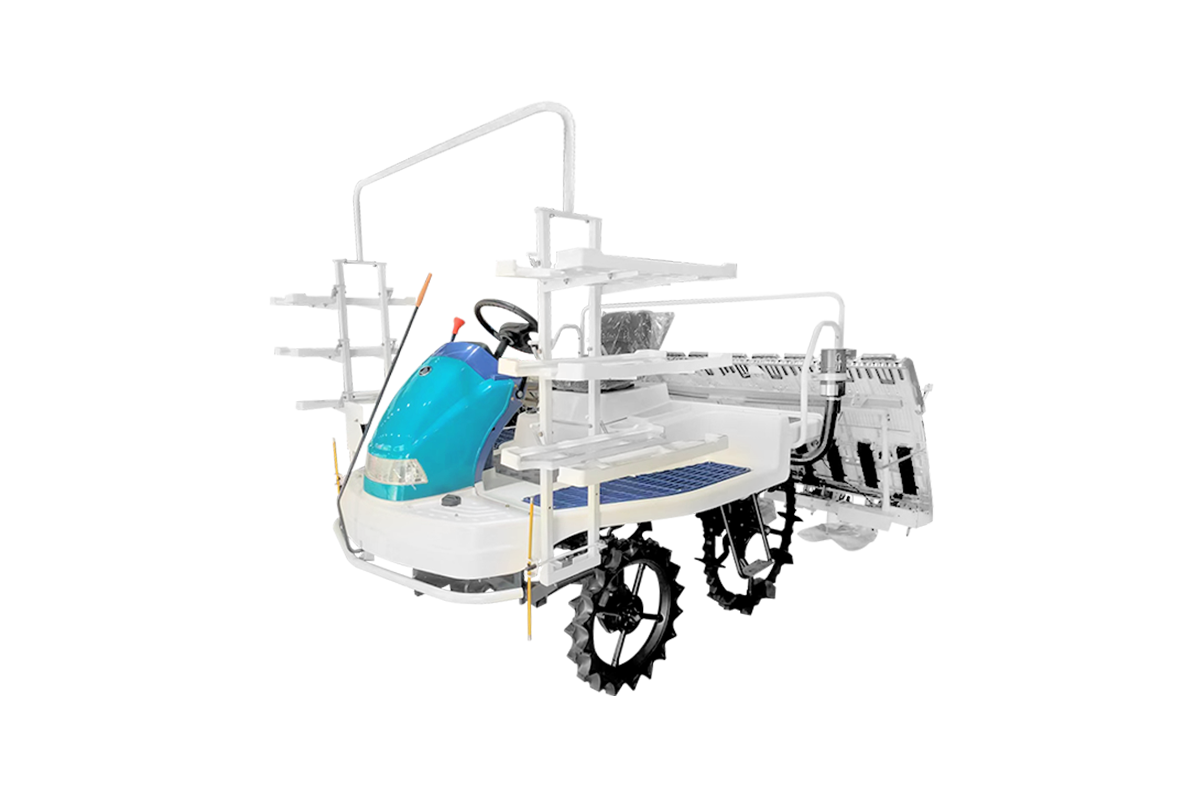
 Custom Agricultural Equipment Manufacturers